Catch data
Learn how to prepare your catch data for upload, upload your catch data, and access example catch data for exploring the Bag Limit Builder and Temporary Closures.
Prepare catch data for upload
This section walks through how to prepare your catch data for upload to the Data Repository.
Catch data must be in a specific format to work properly in the FishKit app, namely in the Bag Limit Builder and Temporary Closures. Catch data must be in numbers of individuals captured per fisher per fishing event (such as per day). A correctly formatted data set should:
- Be in a .csv format
- Record catch as number of individuals caught per event
- Contain at least two columns: id and take
- Not have any empty cells between rows or columns of data
When creating a catch data set, three formatting options are acceptable:
Option 1: Two data columns, where the first column is a trip identifier, and the second column is catch per fishing event (e.g., catch per trip). The trip identifier column (left column) can be an unique identifier assigned to a fishing event. The catch per fishing event column (right column) is the total number of fish that were caught for the fishing event.
Option 2: Three data columns, where columns one and two remain trip identifier and catch per fishing event, respectively. The third column is a grouping variable, such as species. In this setup, each row is a unique fishing event where catch (column two) is the total number of fish that were caught of a given species (or level of the grouping variable) for that fishing event.
Option 3: Six data columns, where dates are entered as integer values for day, month, and year in columns 4, 5, and 6, respectively. As in Option, columns one and two remain trip identifier and catch per fishing event, respectively. Column three can be a grouping variable (as per Option 2) or can be left and an empty column. Regardless of whether a grouping variable is included, Option 3 must have six columns, not five.
The Bag Limit Builder will accept all three of the data formatting options; however, dates are simply ignored in this module. The Temporary Closures module requires data formatting Option 3, as dates are extensively utilized in this module. Both modules use column one, trip identifier, as a unique identifier of each fishing trip.
As long as your data set follows this format, it should be ready to upload to the Data Repository. Before formatting and uploading your own data set, it is useful to review the example data sets in the Data Repository help menu. Try downloading example data following these steps and comparing the formatting of your data set to one of the example data sets.
Relevant Modules:
Steps for uploading catch data
This section walks through uploading catch data to the Data Repository for later use in the Bag Limit Builder.
B. Create a new data set
Within the Data Repository, in the left hand menu, select “Catch data.” Then, from the dropdown menu, select “Create new.”
You should now see step-by-step prompts and questions to help you correctly upload your catch data.
Note that there may be some necessary work to prepare your data for use in the app. See the section on preparing your data for more information.
Relevant Modules:
D. Specify information about your catch data set
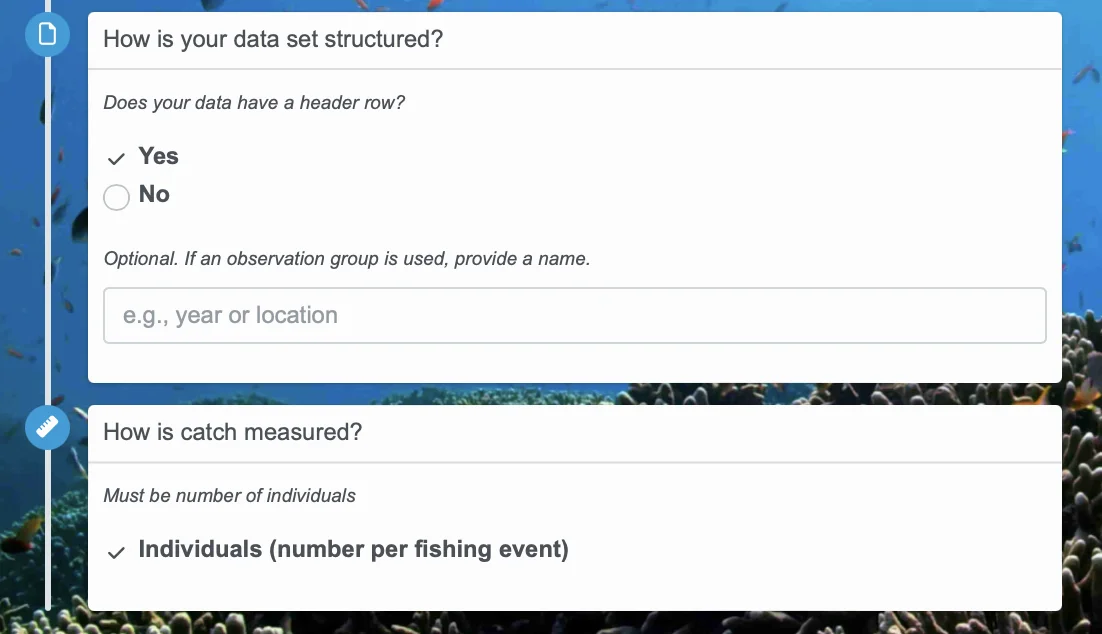
Back on the left, note whether your data set has a header row. Optionally, provide a name for the observation groups. Note that your data must be recorded as a number of individuals per fishing event.
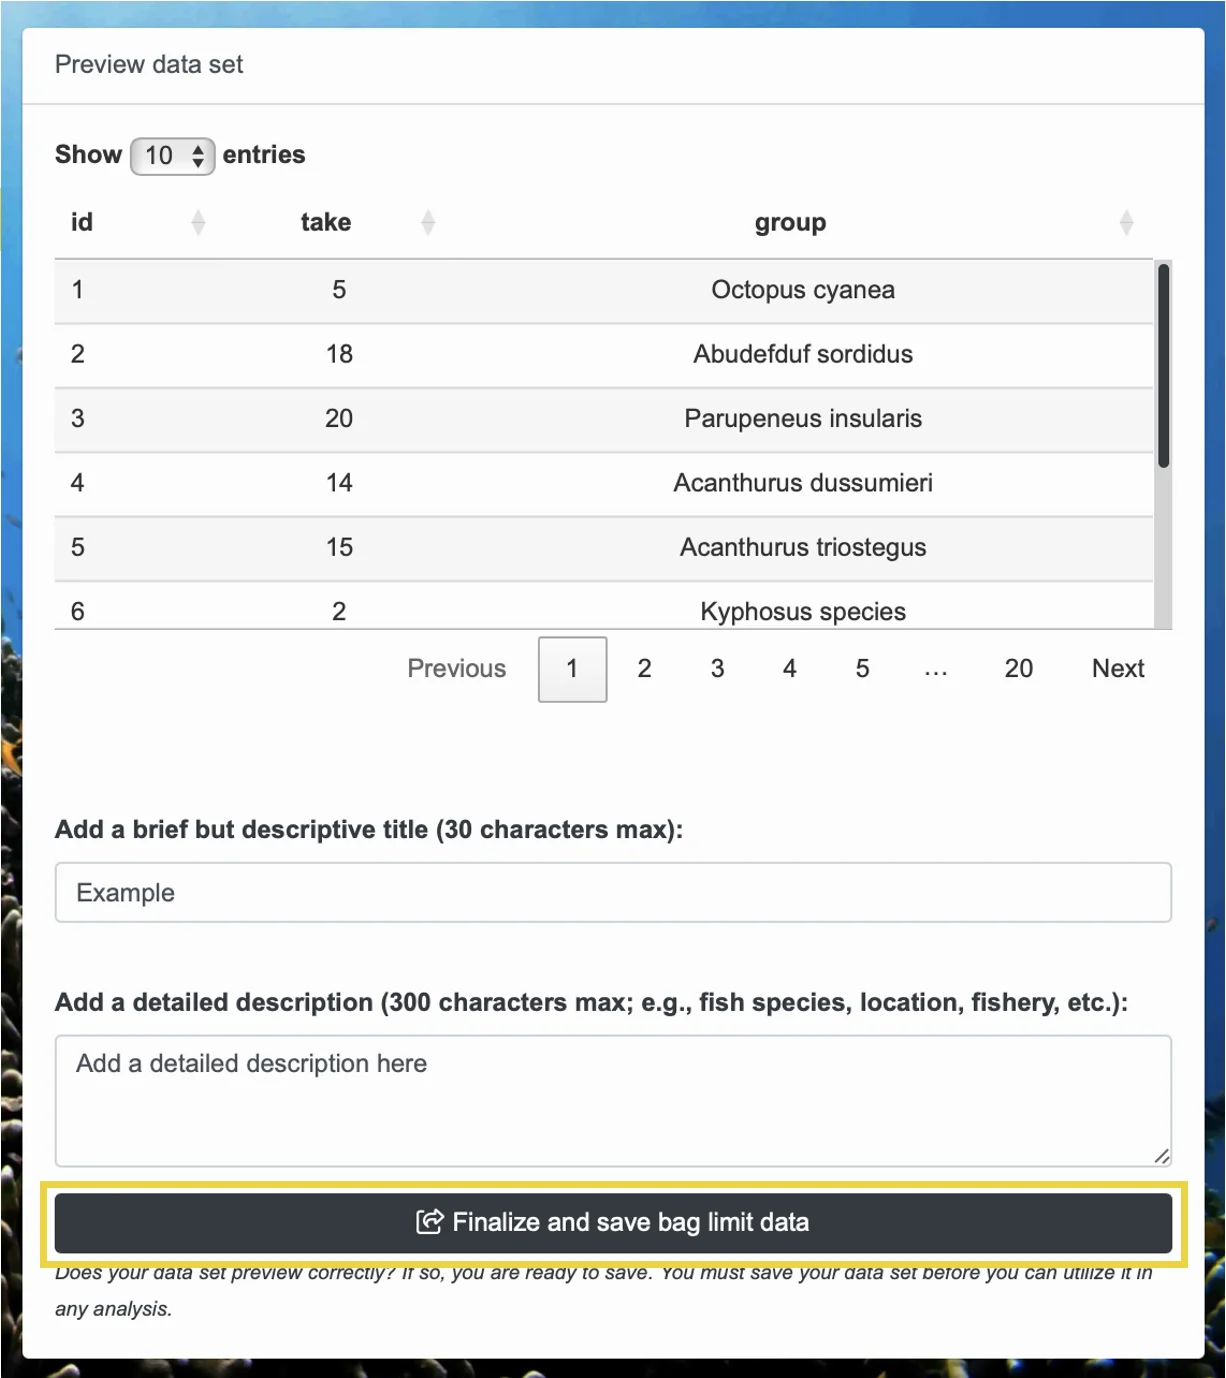
Once these prompts are answered, return to the box on the right. Make sure that the data set preview looks correct. If not, double check the information on the left. If the data set preview is still not correct, see the section on preparing catch data for upload to help ensure your data set is formatted appropriately for use in FishKit.
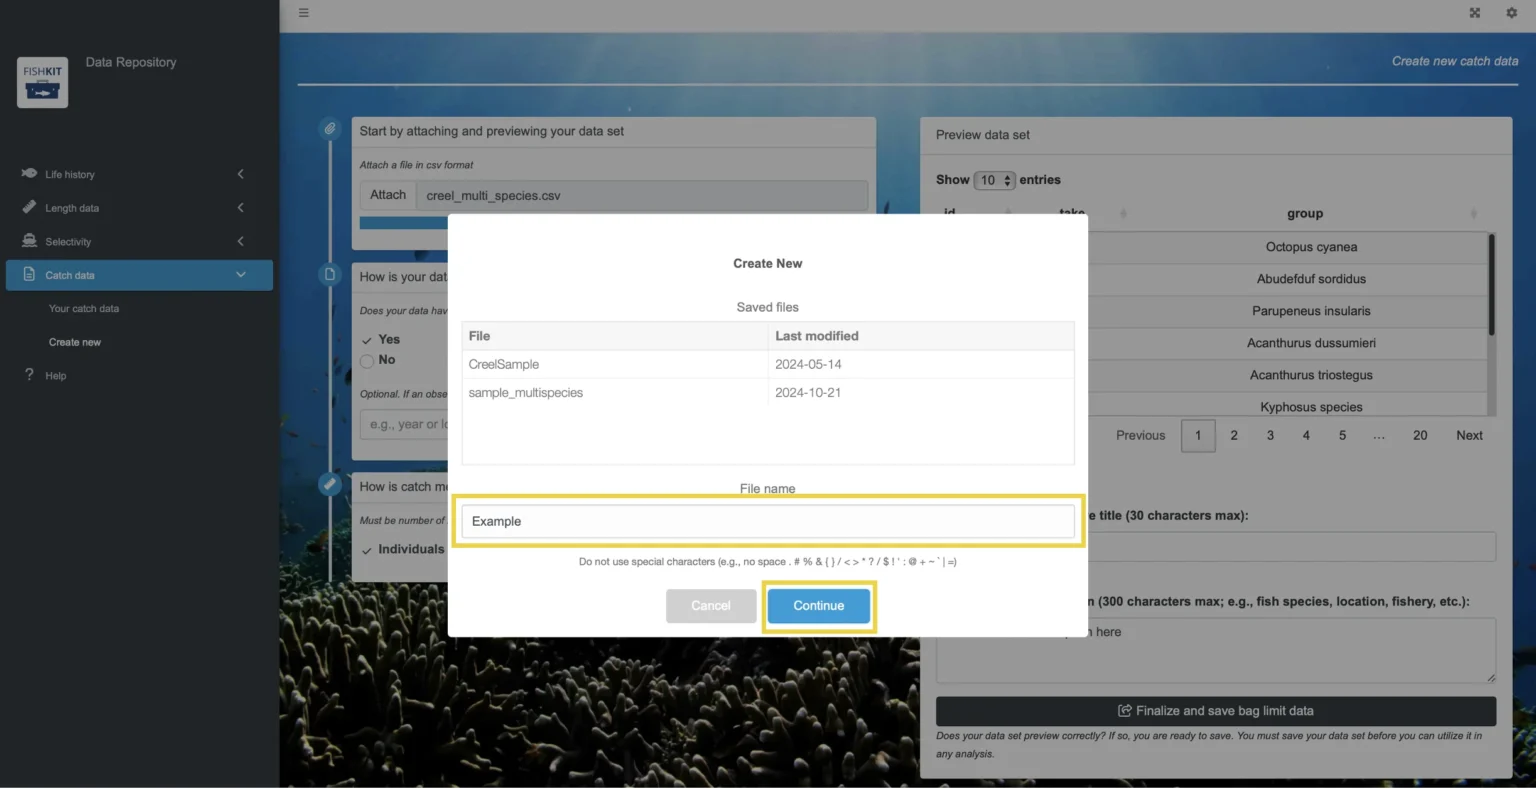
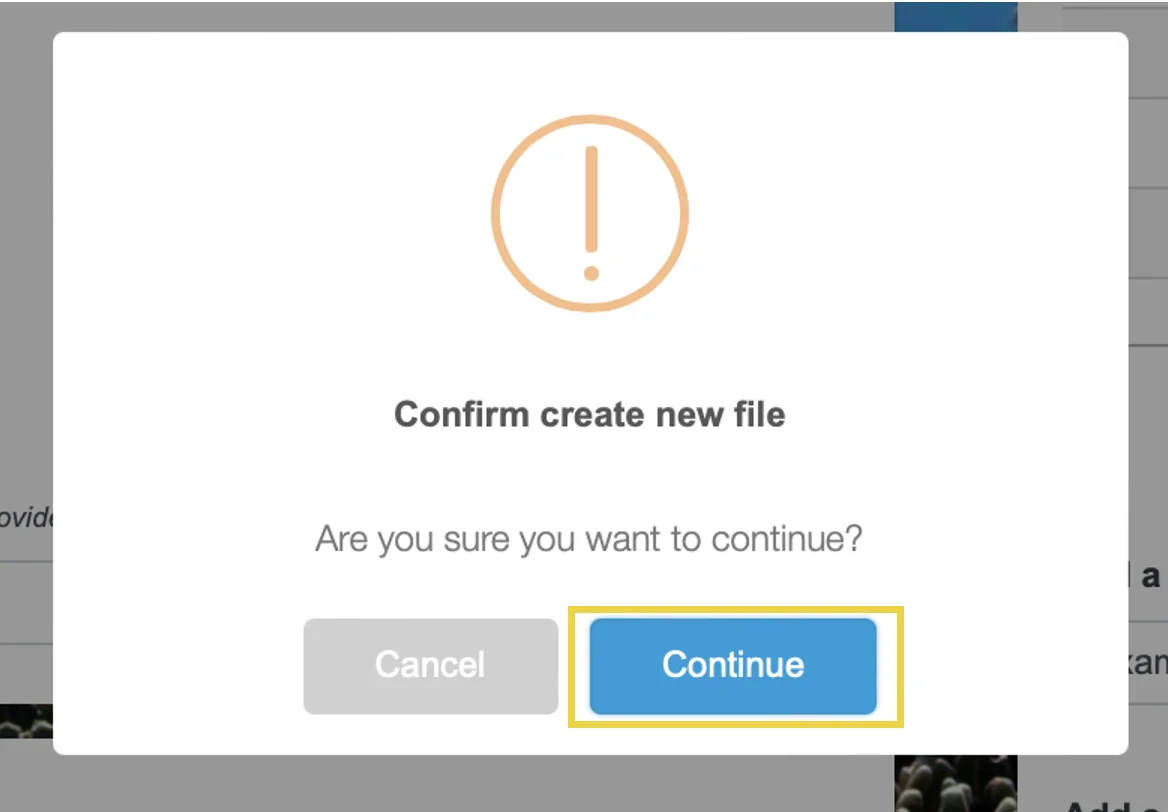
Once your data is previewing correctly, enter a title and description for your data set. Your description should include the fish species, location, fishery, and any other relevant information. Then, click “Finalize and save bag limit data.”
Relevant Modules:
F. Access your catch data set (optional)
To access your catch data set, on the left hand menu select “Your catch data.” Then, use the dropdown menu to click your catch data set of interest. Then, click “Select.”
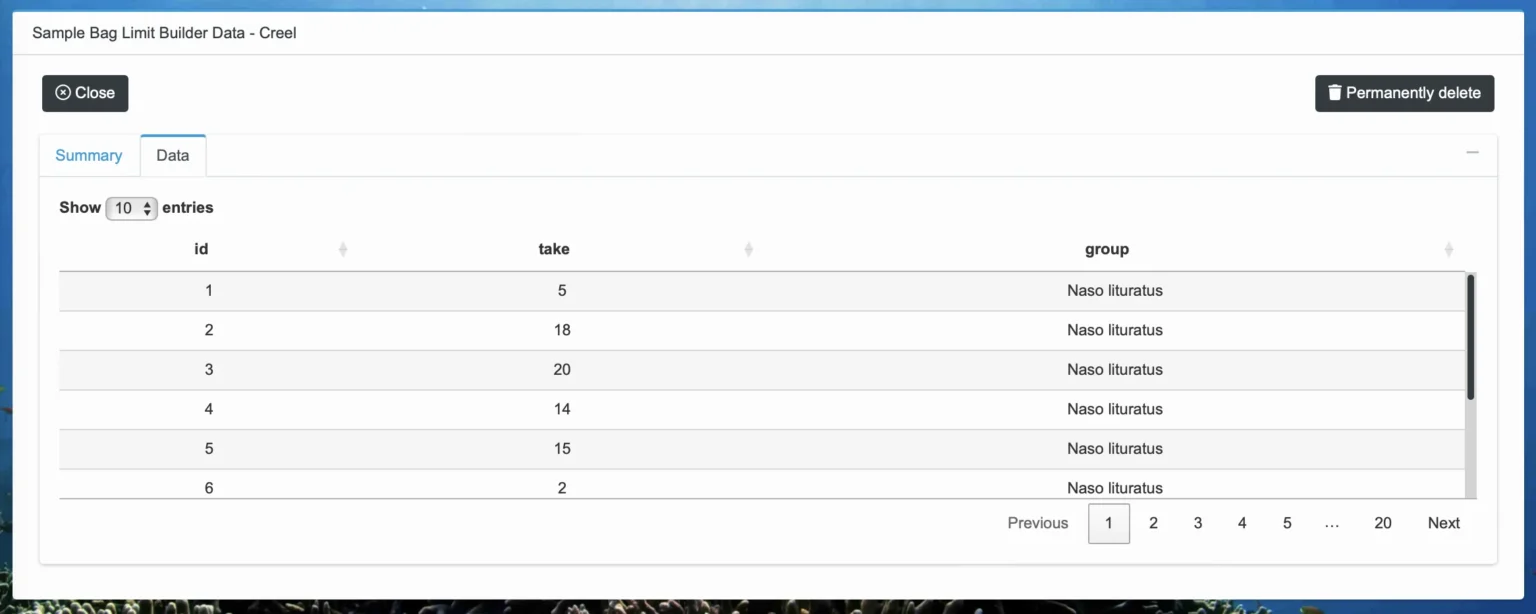
This will bring up detailed information about the catch data set, including a “Summary” tab with metadata information and a “Data” tab that shows you the data set.
Access example catch data
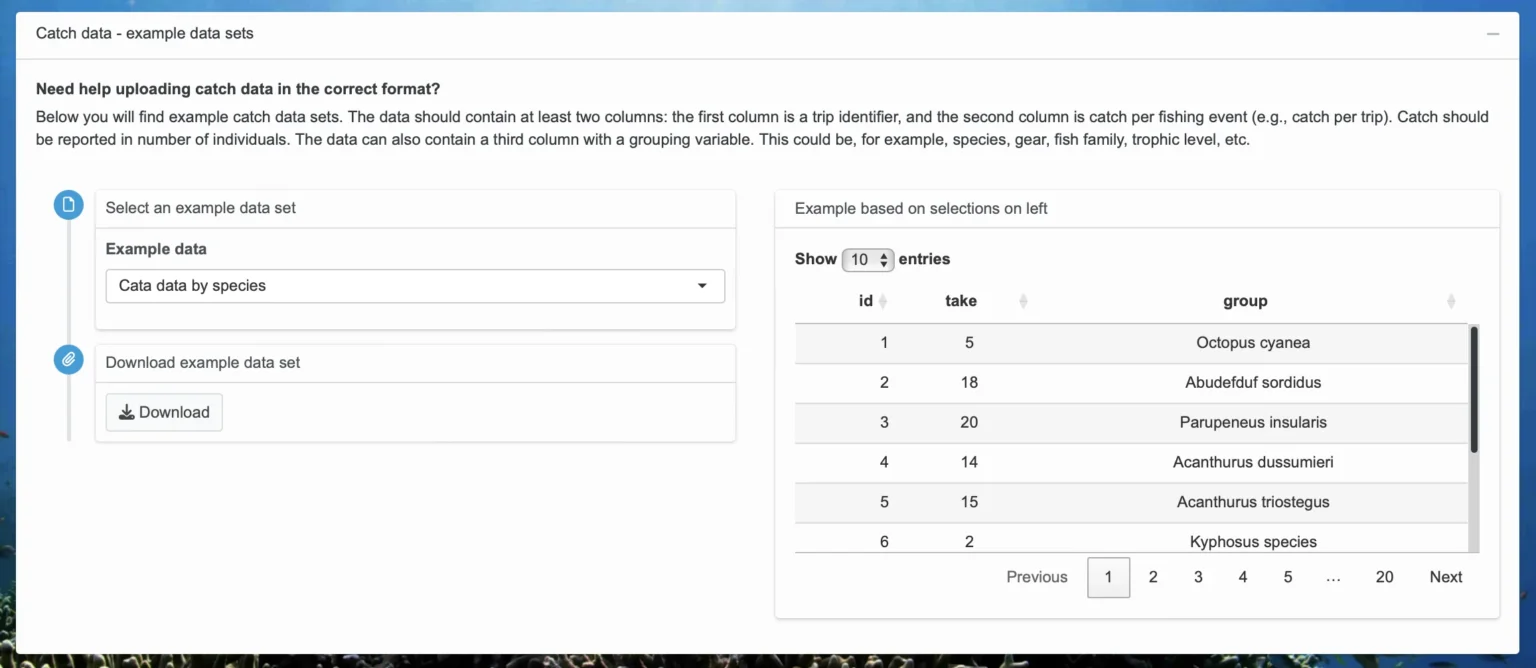
If you would like to explore the Bag Limit Builder but do not have catch data to use, or if you need a reference data set for formatting your own data to upload to the Data Repository, you can access example catch data by following these steps.
D. Download example data
Once you have the example data in the format you want, click “Download” to download the data to your computer.
You can now view the .csv file on your computer. To use the example data set in FishKit analyses, follow the steps to upload catch data to the Data Repository. You will first have to upload the example catch data set following these steps, and then you can access it in the Bag Limit Builder for analysis.
Relevant Modules:


